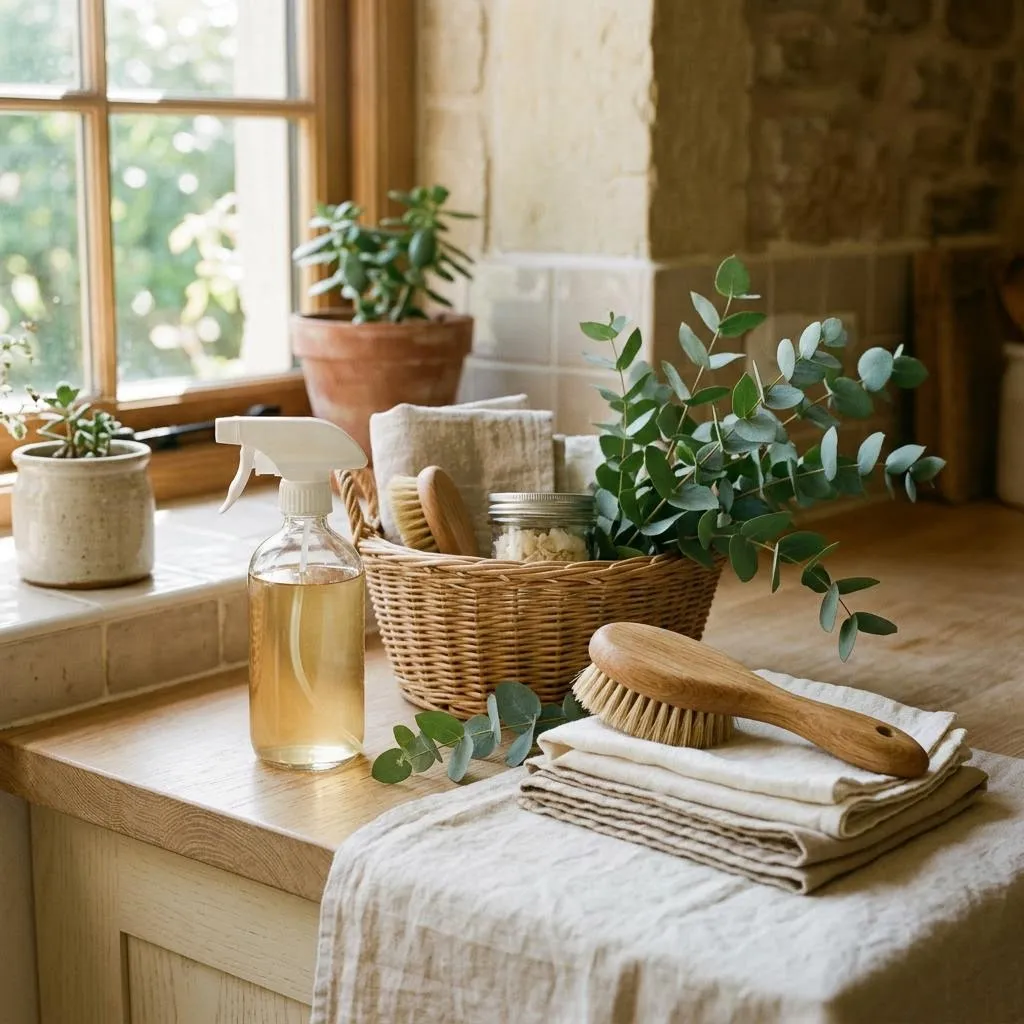
Cleaning is easier to start when the cloths are dry, the bottle you need is visible, and the mop isn't trapped behind the vacuum. Give current supplies a simple home, keep backups together, and make putting everything away part of finishing the job.
Check the labels before grouping cleaners
Keep cleaners in their original labeled containers and never mix them. Follow labels for temperature, ventilation, separation, and secure storage. Ask the manufacturer or local hazardous-waste service about products whose condition or disposal you're unsure of.
Measure the intended cupboard, shelf depth, and doorway clearance. Check shelf ratings against the weight of liquids. Do not place cleaning supplies with food or in an unsecured location accessible to children or pets.
1. Sort supplies by the jobs you do
Group the supplies you use for kitchen surfaces, floors, bathrooms, and other regular jobs. Note which bottles are open and which are backups. Check the intended surface on the label rather than assuming two similar bottles do the same job.
2. Keep original packaging readable
Face labels forward and preserve instructions, warnings, and identification. Do not transfer chemicals to beverage bottles or attractive unlabeled dispensers. For concentrated laundry packets, keep the original packaging closed and secured as instructed. Clear identification makes the system safer for everyone who uses it.
3. Follow storage-separation instructions
Check which products need separate storage before putting bottles in one bin. If a cabinet can't provide the conditions on the label, choose another suitable location.
4. Make the active kit smaller
Pack a light kit for one job, such as cleaning kitchen surfaces. A washable caddy makes it easier to carry and return the tools. Include only compatible products and put the kit back in secure storage when you finish.
5. Give dry cloths a separate home
Keep clean, fully dry cloths on a shelf or in a container away from damp tools and chemical spills. Separate bathroom cloths from kitchen cloths, using labels everyone recognizes.
6. Plan a drying location
Allow cloths, brushes, and mop heads to dry according to their care instructions before storing them. Avoid sealing damp materials in a bin. Keep the drying location clear of food preparation and walking routes. A drying routine may solve odors that no new organizer can fix.
7. Put heavy liquids on a suitable low shelf
Check that the shelf supports the combined weight and that bottles can be lifted without awkward reaching. Secure the location according to household needs and labels. Do not use an unstable stack of small bins beneath a large refill bottle. Accessibility and stability come before symmetry.
8. Catch drips with a removable tray
A washable tray suited to the product can catch small drips. Wipe it and check underneath during the monthly tidy-up. Deal with a leaking bottle according to its instructions rather than letting the tray collect a spill.
9. Limit backups to a defined area
Choose a realistic stock boundary based on use, storage requirements, and shopping access. Record a backup when you put it away and remove it from the list when opened. Avoid buying bulk quantities merely to fill shelving. Too much stock makes it harder to notice leaks or identify the current bottle.
10. Give shelves useful labels
Labels such as “clean dry cloths” and “current kitchen supplies” explain where things belong. Avoid claims like “safe” or “non-toxic” as casual category names; product hazards depend on the actual substance and use. Temporary paper labels are enough for a first trial.
11. Keep long tools off walking routes
Store brooms and mops so they cannot slide into a doorway. Use properly rated holders and suitable mounting surfaces if installing anything. Keep heavy heads and handles stable, and do not obscure utility access. A simple designated floor corner may be safer than a poorly installed wall rack.
12. Make vacuum accessories identifiable
Group attachments with the appliance or in one labeled container nearby. Check the manual before storing an appliance in a tight cupboard that may affect cooling or charging. Do not kink cords or hide damaged accessories among working ones. Label unusual attachments with their intended task if useful.
13. Make a plan for unwanted products
Record unwanted or unusable chemicals and find the correct local route. Keep their original labels attached while awaiting proper handling. Do not combine remnants to save space or donate products another person cannot safely identify. Set a specific action date so the collection does not remain indefinitely.
14. Keep a short checklist with the kit
Keep a short reminder with the kit: collect tools, follow label directions and contact times, ventilate where required, and return supplies. Include care instructions that matter for the surface you're cleaning.
15. Inspect the cupboard every month
Once a month, check caps, labels, leaks, shelf condition, and stock. Remove empties through the right collection route. If a tool keeps landing in the doorway, give it a more convenient home.
A place for each part of the kit
| Item group | Useful boundary | Important condition |
|---|---|---|
| Current products | Suitable secure shelf or kit | Original labels and compatibility |
| Clean cloths | Separate dry section | Fully dry before storage |
| Long tools | Stable designated location | No blocked exits or utilities |
| Backups | Small documented reserve | Correct conditions and stock review |
For storage around pipes, see our under-sink ideas. Use the printable reset checklist to make returning supplies part of finishing the task.