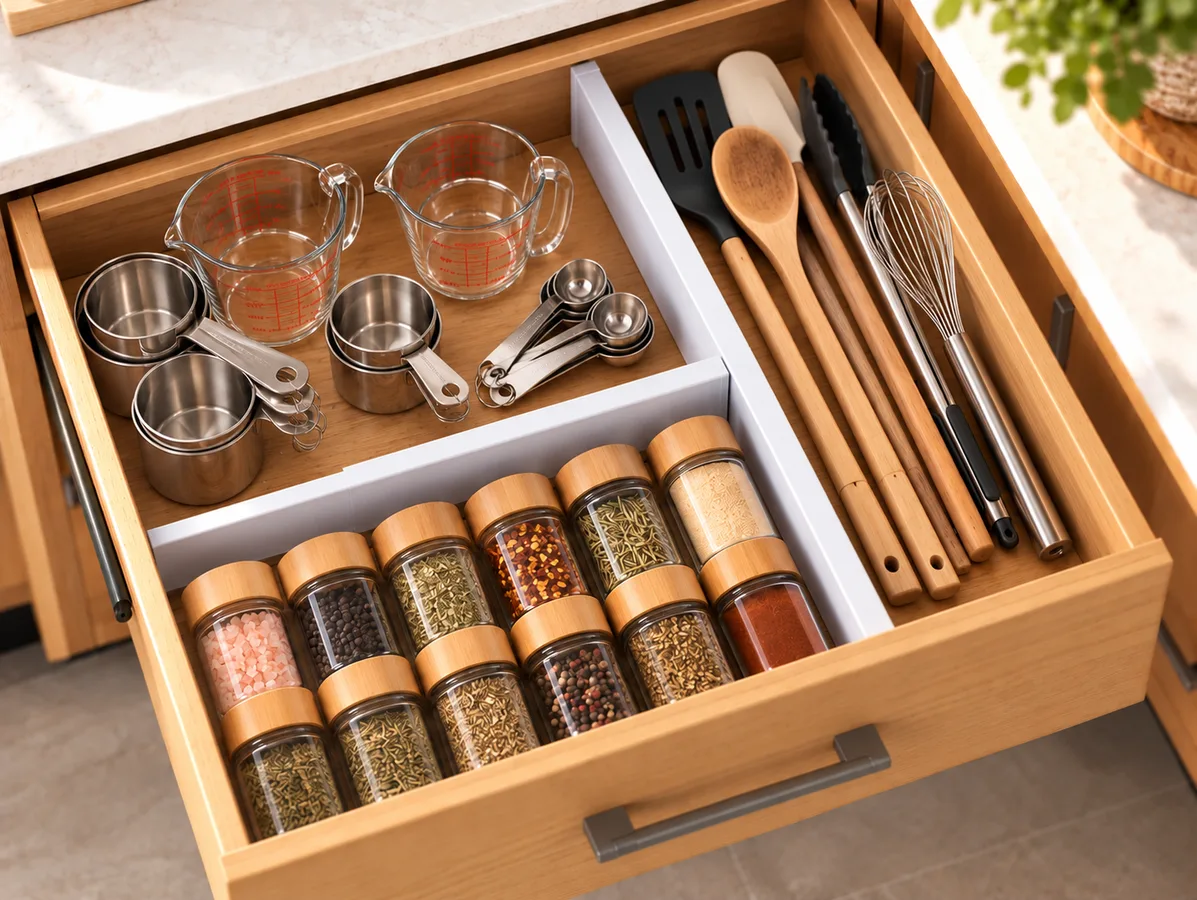
The cabinet under the sink is where a spare sponge can disappear behind six bottles. Pull everything out, check for leaks, and choose the supplies you reach for most. A clear front row and space around the pipes will make the cabinet much easier to use.
Check for leaks before adding storage
Look for damp wood, loose connections, staining, and an active drip. If you find a leak, stop and arrange a repair before adding storage. Do not cover damage with a liner. Measure the clear width, depth, opening height, and the space around the trap and supply lines. Take a photo with the measurements visible.
Keep cleaners in their original containers and secured according to their labels. A sink cabinet alone is not childproof. Never mix cleaning products.
1. Decide what belongs under this sink
Keep the cabinet focused on dishes and kitchen cleanup. Move paint, flowerpots, tools, and bathroom backups to their own homes. Put them away as you sort so the mess doesn't simply move into the hallway.
2. Work around the pipes
Sketch the drain trap and shutoff valves before choosing bins. Mark an access area you will leave open. Measure the narrowest part of the door opening, not just the cabinet interior: a basket that fits inside may not slide out. Test the route with a cardboard box before buying a pull-out unit.
3. Remove duplicate open bottles
Line up duplicates so you can see what's open. Finish one before opening the next, and note the unopened backups before shopping. Keep cleaners in their original bottles; never combine leftovers. Take unwanted products through your local household hazardous-waste program.
4. Put daily supplies in a front-row caddy
Put current dish soap, a brush, and the surface cleaner in a shallow washable caddy. You can lift the group out to wipe the cabinet. Keep labels visible and the loaded caddy light enough to lift past the pipes.
5. Separate dish tools from chemicals
Give sponges, replacement brushes, and cleaning cloths their own dry zone. Avoid resting absorbent materials against damp bottles. A reused food container is acceptable for dry tools after it is cleaned, but never use food packaging to hold a chemical. The distinction prevents confusing contents and makes spills easier to isolate.
6. Use the space beside, not beneath, the trap
Tall bottles often fit on either side of the plumbing. Short items can sit in the front center if they do not block inspection. Do not wedge containers against hoses or force a symmetrical layout. Two different-sized existing baskets may work much better than a matching set.
7. Use a tray you can lift out
If the base is sound and dry, a washable removable tray can catch a small product spill. It is not leak protection and should not hide moisture. Lift it during the weekly reset and check underneath. Avoid permanent adhesive liners that make future damage difficult to spot.
8. Reserve a home for wet tools elsewhere
A wet sponge or cloth needs to dry fully before storage. Give it a ventilated drying location near the sink, following material care instructions. Do not place it in a sealed bin under the cabinet. Store only clean, dry replacements below; this reduces odors without requiring a specialty organizer.
9. Try door storage only after a closure test
Tape an empty cardboard mock-up to the inside of the door and close it slowly. Check hinges, bottle height, and pipe clearance. Any purchased or installed rack must respect the door material and hardware instructions. Skip this option entirely if it compromises a safety lock or stores hazards within easy reach.
10. Corral dishwasher supplies safely
Keep tablets or pods in their original closed packaging, secured out of children's and pets' reach. Do not transfer them to an attractive jar. If this cabinet cannot provide suitable secure storage, choose another location. Convenience never outweighs the instructions on concentrated detergent.
11. Give backups one small spot
Keep unopened replacements together at the back or side. One spare of something you use often may be plenty; choose a quantity that fits your shopping routine. When the space is full, check it before buying more.
12. Label by task rather than bottle size
Labels such as “dishes,” “cloths,” and “kitchen surfaces” tell someone where an item goes. “Tall bottles” does not explain the system. Use scrap paper and removable tape for a trial week before committing to permanent labels. Change a category if household members repeatedly return items somewhere else.
13. Keep the shutoff valves visible
Keep shutoff valves visible and reachable without unloading the cabinet. Don't hang bags from pipes or attach storage to supply lines. If you're unsure which valve does what, ask a plumber before you need it in a hurry.
14. Use clear shelf height
A small freestanding shelf can help if your cabinet has clear headroom and no conflict with pipes. Compare the usable shelf area gained with the footprint lost. Tall bottles may be easier to store without one. Check stability and load limits, and never use improvised stacked boxes to support heavy liquids.
15. Build a two-minute weekly reset
Return the caddy, wipe product drips, lift the tray, and inspect the base for moisture. Remove empties before your shopping list is written. A reset should be possible without dismantling the system. If it takes ten minutes, reduce the contents or simplify the number of categories.
Match the storage to the problem
| Problem | No-purchase first step | Possible storage type | Check before using |
|---|---|---|---|
| Bottles disappear at the back | Move current supplies to an existing tray | Removable caddy | Lift clearance and total weight |
| Wasted clear height | Put short and tall supplies in separate zones | Freestanding shelf | Pipe clearance and load rating |
| Loose dry cloths | Fold into a clean reused box | Small washable bin | Keep it away from damp supplies |
Use the table to choose a layout, then check that every supply is easy to take out and put back.
For other kitchen storage options, see our Amazon kitchen organization finds.
A quick completion checklist
- The base is dry and any leak has been addressed.
- Plumbing and shutoffs remain accessible.
- Chemicals stay in original containers and appropriate secure storage.
- Wet tools have a place to dry outside the cabinet.
- Every supply can be returned with one simple movement.
Under-sink questions
Should everything under the sink go in a bin?
No. A large bottle may stand neatly on its own. Use a caddy for a group you lift out together, and leave open space around the plumbing.
How do I organize around a garbage disposal?
Measure the space on both sides and in front of it, including pipes and connections. Try two smaller lift-out bins rather than one wide rack. Keep access clear for inspection and repairs.
For the next small project, use our kitchen drawer guide or create a whole-home approach with room-by-room decluttering.