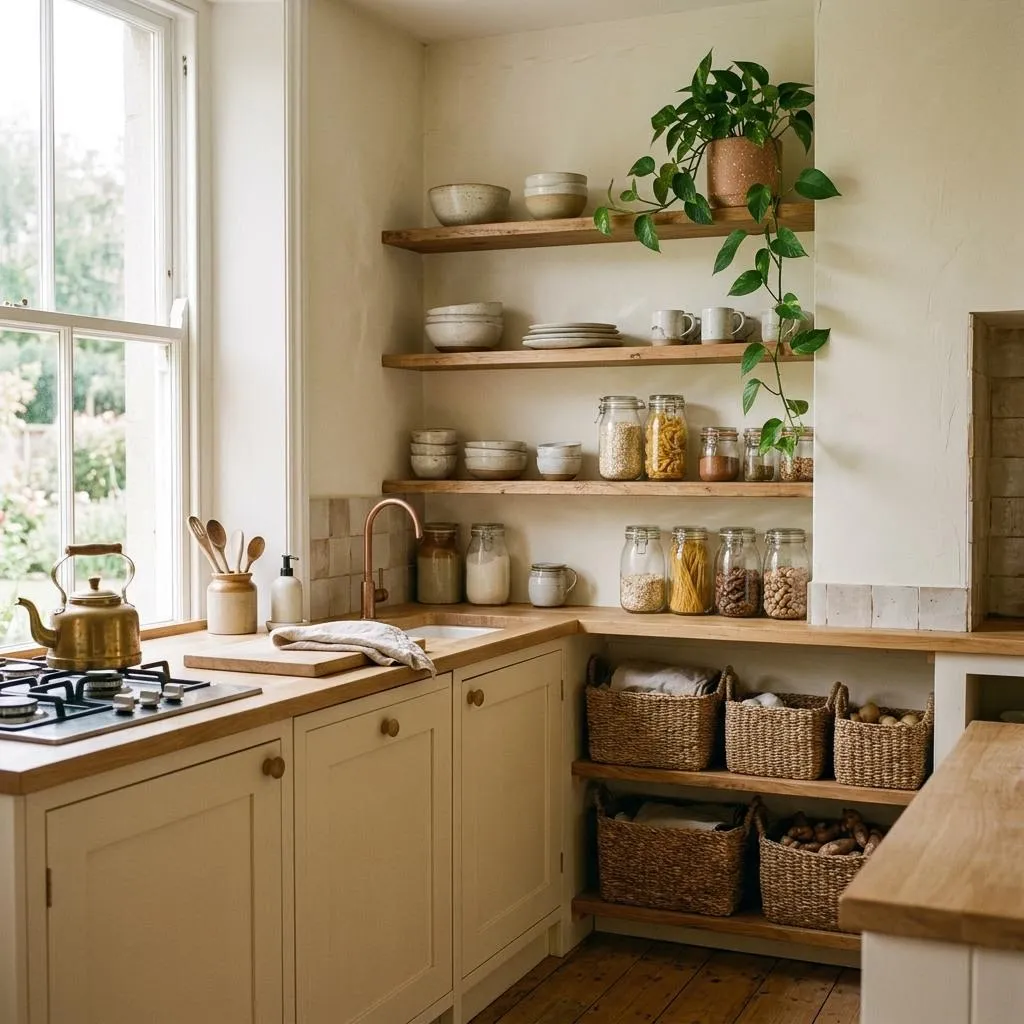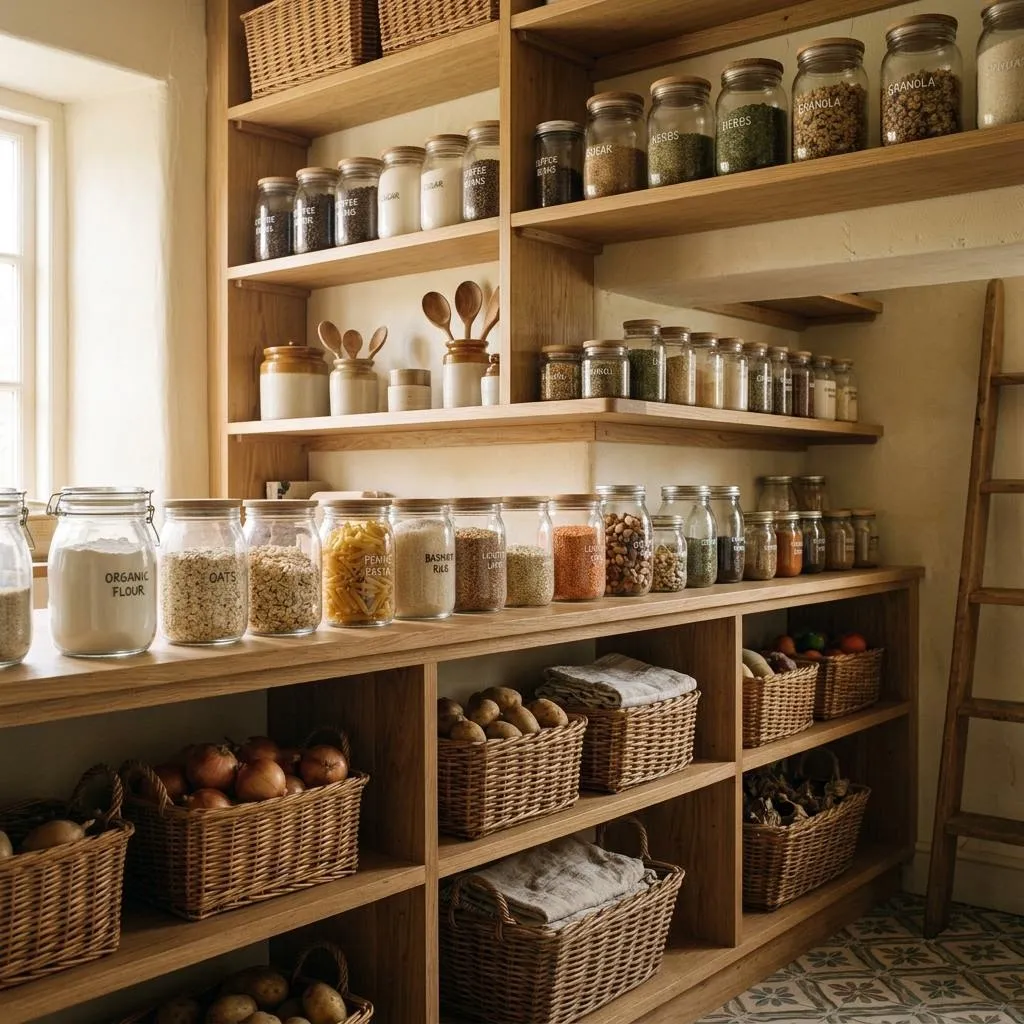
If groceries keep disappearing behind other groceries, start with one shelf. Put foods you use together within reach, bring older stock forward, and leave room to put a package back without rearranging everything. Build the rest of the pantry around that routine.
Check what is already on the shelves
Measure shelf width, depth, and height, including hinges. Check packages for damage or pests and follow each food's storage instructions. Date labels have different meanings; look up unfamiliar ones rather than treating every date as a discard deadline. Don't taste food that looks spoiled.
1. Start with a use-first section
Put opened foods and things you want to use soon on a visible tray. Check it when planning meals. Only include food that is still suitable to eat; spoiled or damaged items need to go.
2. Keep meal ingredients together
Keep oats with your usual toppings, or pasta with the sauces you reach for on busy nights. A breakfast or dinner shelf can be easier to use than lots of tiny ingredient categories. Keep allergen information visible and follow storage directions.
3. Give each shelf a short name
Use broad labels such as “breakfast,” “cooking staples,” and “snacks.” Very narrow categories create extra sorting work and empty pockets of space. Try handwritten labels before anything permanent. If another household member cannot decide where a package belongs, simplify the label rather than explaining a complicated system again.
4. Stop stacking unrelated cans
Keep like items together with labels facing forward. Place the items you will use first at the front and put new stock behind them. A single row is easier to scan than a tall unstable tower. If you need several rows, record the hidden quantity on a small shelf note.
5. Adjust shelf height to the contents
If shelves are adjustable, measure your tallest everyday package before moving supports. A large unused gap above short cans may be better divided between two shelves. Remove the load before adjusting anything, and check that supports are correctly seated. Do not overload a shelf to gain capacity.
6. Make deep shelves into removable groups
Place small packages in a shallow sturdy box you can pull forward. The container needs to fit through the opening without tipping. Label the front rather than relying on a view from above. Keep heavy goods near the front or low down so a full bin remains manageable.
7. Give the back row a plan
Keep backups at the back and write a short list on the shelf edge. Cross an item off when you bring it forward. A quick glance at the list can save you buying a third bag of rice.
For bottles at the back, compare a turntable with a removable bin. Check the full rotation space and bottle height. A second tier can help with small jars if both levels stay easy to reach.
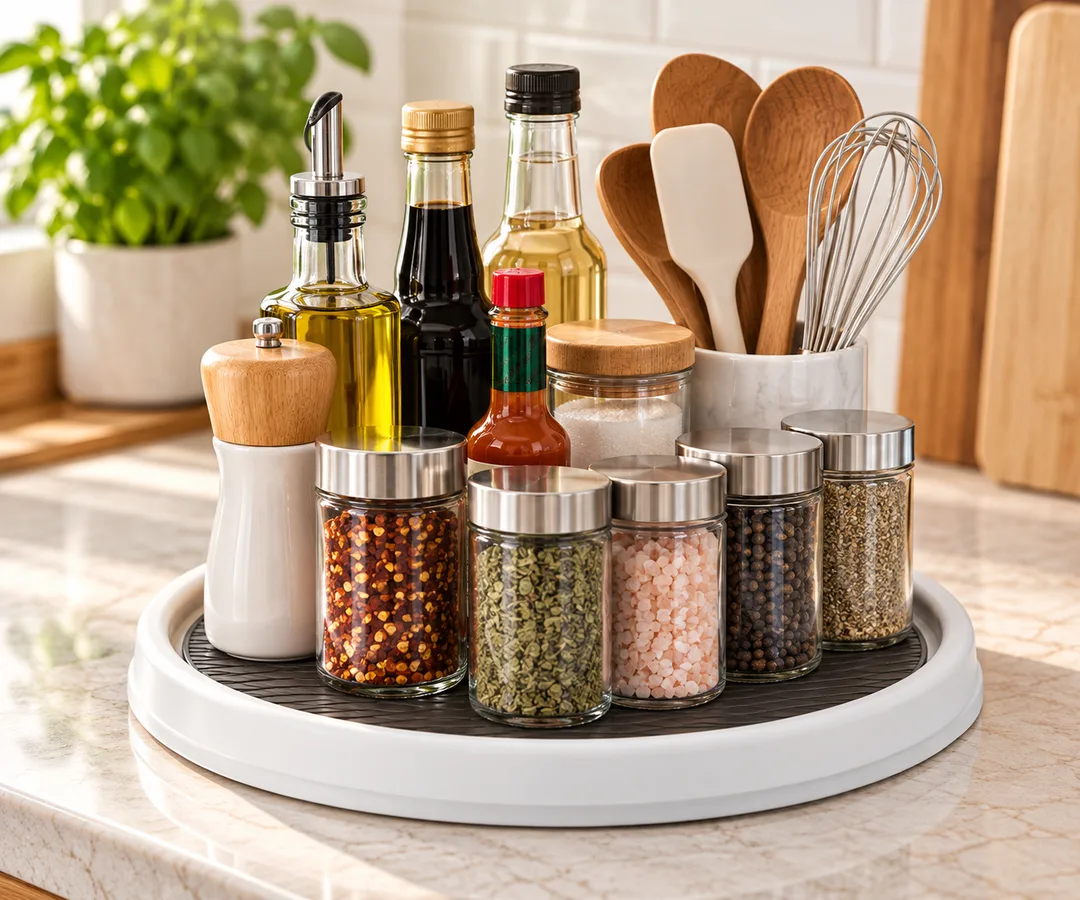
Illustrative image — actual product may differ. Optional organization findCopco Basics 12-Inch Non-Skid Lazy Susan
A larger single-tier option for a group of bottles on a roomy shelf.
Best for: Oils, vinegar, and condiments.
Benefits & considerations
Considerations- A circular footprint leaves corner space unused.
- Tall bottles still need overhead clearance.
View on AmazonAffiliate link — we may earn a commission from qualifying purchases. Disclosure
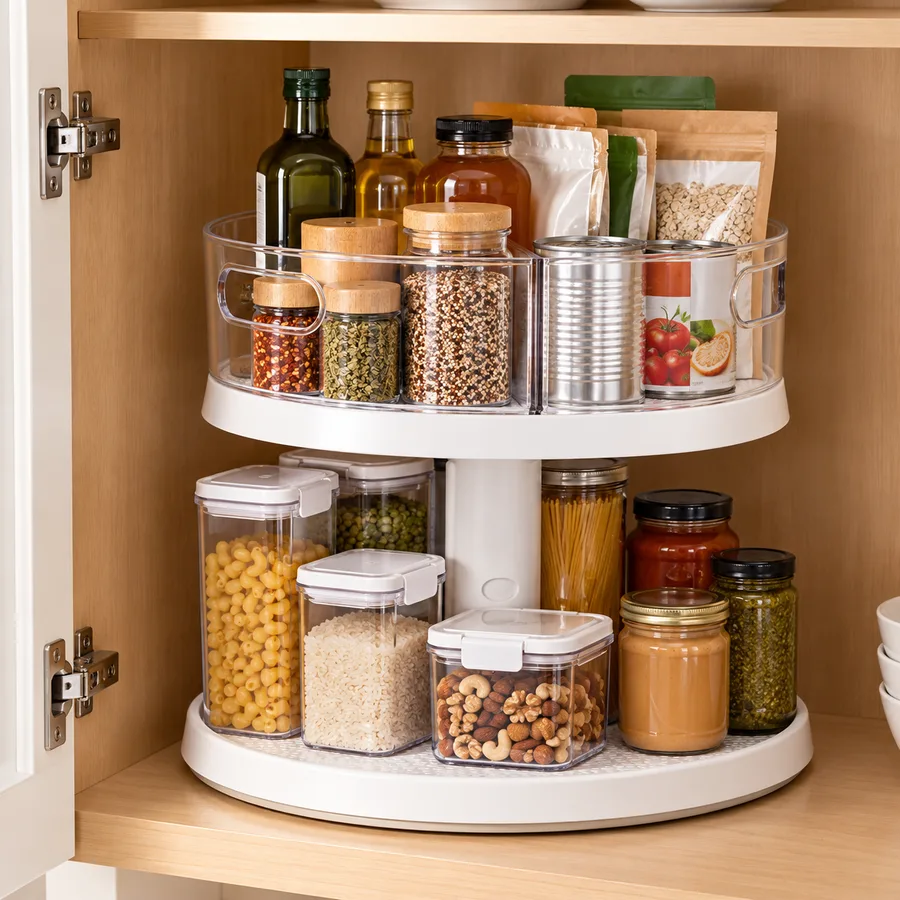
Illustrative image — actual product may differ. Optional organization findYouCopia Crazy Susan 2-Tier Turntable
Two levels for small pantry items that leave spare height on a shelf.
Best for: Spice jars and small bottles.
Benefits & considerations
Considerations- Extra tiers require clear shelf height.
- A crowded upper level can make the lower level harder to reach.
View on AmazonAffiliate link — we may earn a commission from qualifying purchases. Disclosure
8. Clip opened bags before considering decanting
Fold and clip opened bags that already stand neatly. Keep labels and directions readable. Save containers for packages that are awkward to pour from, scoop from, or close.
9. Keep the food label with the food
If you transfer a food, copy its name, relevant date, and preparation instructions; keep the original label when needed. Never top up a container indefinitely without emptying and cleaning it. Matching jars are not useful if nobody knows what is inside or how it should be prepared.
Check sizes and included pieces before choosing pantry containers. Match them to the foods you buy often, and keep the original label information with the food.
10. Put heavy items below shoulder height
Large flour bags, bulk rice, and heavy bottles need stable shelves you can access without stretching. Respect shelf ratings and keep packages closed. Avoid creating an overhead lifting task. If the only space is high, buy a smaller quantity or keep a clearly labeled backup elsewhere in suitable conditions.
11. Separate food from household chemicals
Give food and cleaners separate storage. Keep household chemicals in their original containers and follow their storage directions; a utility cabinet needs more than two labels to separate the groups.
12. Use one small snack boundary
Put current snacks in one shallow basket and keep refills nearby. Make allergen information easy to check and choose access that suits your household. Empty wrappers are a good reminder to tidy the group before restocking.
13. Give baking a movable kit
Collect infrequently used baking supplies into one manageable group. Keep heavy ingredients separate if needed rather than making an enormous box. Check this group before a holiday or baking project. Reusing a sound shoebox for sealed packets is fine; loose food still requires suitable food-safe packaging.
14. Set a limit for backups
Give backups a shelf section rather than every spare corner. Before a bulk purchase, check whether you have suitable room and will use the food in time. Keep a short list of things you tend to overbuy.
15. Keep floor storage easy to clean
Avoid loose packages against walls or in an inaccessible corner. Where floor-level storage is suitable, use a liftable container and leave access for cleaning and inspection. Do not block vents, utilities, or exits. A clear floor often gives a small pantry more practical value than one extra crate.
16. Store long packages upright when safe
A tall, stable container can help sealed pasta or wraps stay together. Check that packages do not tip when a neighbor is removed. Reuse a clean rigid box for the trial. If the arrangement obscures labels or damages packages, horizontal storage in a shallow group may be better.
17. Test a riser before buying a full set
A freestanding riser can reveal a back row of small jars, but it also uses shelf depth. Measure the tallest jar and the space beneath the platform. Test the intended arrangement first. Do not improvise a wobbly platform from stacked cans or use an unrated shelf for heavy goods.
18. Keep everyday foods in comfortable reach
Put the ingredients used most often on the easiest shelf for the people who cook. Keep occasional supplies farther away. If someone has to stretch or move three packages to reach breakfast, swap the locations.
19. Leave a little landing space
Resist packing every shelf edge to edge. A small gap lets you return a package without shifting several others. If the pantry works only when perfectly arranged, reduce stock or broaden groups. Empty space is part of a functional storage system, not evidence that you need another basket.
20. Link the pantry to the shopping list
Keep a paper list nearby or use an existing shared notes tool. Add an item when you open the final suitable backup, not whenever you notice an attractive deal. Before shopping, check the use-first section and your meal plan. This habit usually improves the pantry more than another organizer.
21. Reset one shelf each week
Pick the shelf that changes most often. Remove crumbs, check package closures, move older usable stock forward, and restore the labels. Once a month, inspect the less-used areas. If a category keeps overflowing, reduce how much you buy or assign it more space by reducing something else.
A simple storage comparison
| Approach | Most useful for | Main trade-off |
|---|---|---|
| Original packaging | Instructions, allergens, easy restocking | Open bags need secure closure |
| Existing shallow boxes | Loose sealed packets | Cardboard cannot be washed after a spill |
| Food-safe containers | Foods whose storage or pouring improves | More cleaning and label transfer |
| Freestanding risers | Seeing short back-row items | Less usable depth for tall packages |
Your pantry reset checklist
- Check food condition and package directions.
- Plan meals using the use-first group.
- Group current stock before adding containers.
- Measure shelf and door clearances.
- Keep heavy items accessible.
- Check inventory before the next shopping trip.
Small pantry questions
Do I need airtight jars for everything?
No. Follow the food's storage directions. A well-closed original bag keeps its label handy and saves you another container to wash.
What if there is no pantry room?
Give a kitchen cabinet the same simple zones: everyday staples, meal ingredients, and a small backup area. Try our small-space organization ideas if storage shares a room with other activities.
If lids and containers have taken over another cupboard, try organizing food storage containers next.